

At our home, every now and again, on a Saturday night we love a dessert in the evening. There are times where will bake cookies or an indulgent, clean fruit cobbler. Yet, if there is one dessert that is our go-to, when we can’t think of anything, it has to be a mini chocolate lava cake.

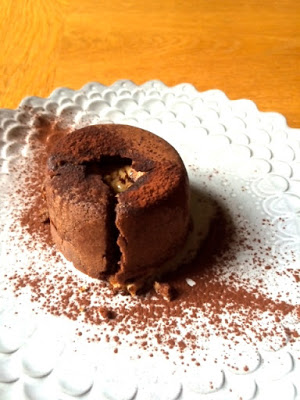
They are a divine piece of heaven. Chocolate on the outside and liquid chocolate on the inside. Each time the way the liquid chocolate oozes out of the cake, it calls for a cry of delight. Making the mixture is easy, it is waiting for them to cook in the oven that is slightly tricky; too long and the inside will harden, no different from any other cake. Like a child, I sometimes find myself sitting cross-legged, on the floor, in front of the oven, whilst the mini molten cakes cook. “Is it done yet? Is it done yet?”. No wonder that cry of delight comes about when I tip the cake out of the ramekin onto the plate, slice it and watch gleefully as the liquid gold pours out.
The beauty of these mini molten cakes is that they are so quick and easy to make that you can make them right after dinner. The oven time is approximately 7 minutes at 180 Celsius.

As a nut butter lover, I thought it would be good to experiment with Hi-PRO peanut butter with the cakes, and so a chocolate mini cake with a peanut butter lava was born. I’ve made nut butter stuffed protein pancakes before and, like them, each morsel of these mini molten cakes were like a party in my mouth. The Hi-PRO smooth peanut butter works really well with these mini lava cakes as it is so creamy and doesn’t leave that bitter after taste that other smooth peanut butters have. Plus, it’s high in protein.

Makes: 4 cakes, using ramekins.
Baking time: 15 minutes.
Time in oven: 7 minutes.
70 g Dark chocolate (I use 90%)
20 ml Almond milk (or milk for your choice)
40 g Coconut oil
15 g Buckwheat flour
2 Whole eggs
1/2 tsp Baking powder
2 tbsp Xyltitol
Peanut butter (I used Hi-PRO Smooth Peanut Butter)
1. Preheat the oven at 180 C
2. Melt the coconut oil in a bain marie and add the dark chocolate. Then, mix the two until the chocolate has melted and it has become liquid chocolate.
3. Put the bowl of chocolate to the side, and place another bowl over the hot water. Pour the milk into the bowl and heat.
4. Crack the eggs into a bowl and whisk away. Add the xlyitol ( or stevia drops) and whisk.
5. In another bowl, mix the baking powder and buckwheat flour.
6. Pour the chocolate mixture into the egg mixture and mix with a wooden spoon.
7. Slowly add the flour into the chocolate-egg mixture and fold it in with the wooden spoon. Add the milk and stir.
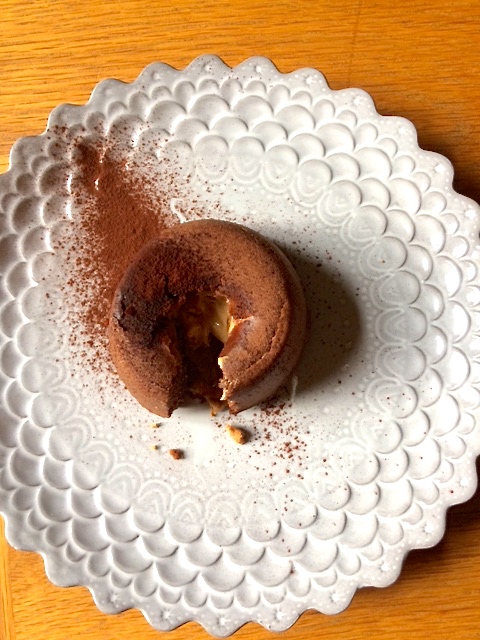
8. Grease the ramekins and pour the chocolate mixture at the half way point of each ramekin. Add a teaspoon (or tablespoon!) of peanut butter on top, followed by another dollop of chocolate mixture to cover the peanut butter.
9. Put in the oven. It should take about 7-8 minutes but have a quick check around 5 minutes. The top of the cake should be cooked and the cakes shouldn’t be too soft, a slight wobble should occur.
10. Cool down for a few minutes and then tip the cakes upside down and dust with cocoa powder.
Enjoy! I absolutely love this with a roobois tea. The slight earthy-woody goes magically with the cake.
What are your favourite desserts or favourite way to use peanut butter? Mara xxx
This post was sponsored by Hi-PRO. All views are my own.
